Handling a Teenager
Child, Development Stages, Handling Misbehaviour, Parenting, TeenageStarted blogging since 2007 and never regretted a single bit!
Its been more than 8 years!
Whoo-hoo!
*clap clap clap*
Ooops! Before I rattled on about how I am handling my dear teenager, I must say…………..
Happy 2016 everyone!
*laugh*
Well, I know we are already into the 22nd day of the year, but hey! never too late!
Wrote down your new year resolutions already?
I did!
Hope everyone will have a wish-fulfilling year!
Ok, back to what I wanna say.
Started blogging when Kitkit was 3 plus years old….awwww…. the love and hate year! *laugh* Not easy to handle his tantrums and the jealousy whenever I held Binbin, the hyper active toddler then.
Now, with Kitkit starting his teenage journey, its another round of challenge.
ATTITUDE! is the big issue now.
We had never bicker so much in the past!
Unless its harmful to his health or body, I would usually let him have his way. However, this time round, its different. He reasons with me. Well, I must say some made sense and some are just being unreasonable-reasons! He rolled his eyes often, give the ‘big sigh’ every now and then, as if he is being chained from head to toes and not forgetting the constant ‘tsk’ too!
Everything started just before PSLE (maybe he matured earlier) and now, I can see that ‘attitude’ blooming and it seems like its far from being full bloom.
I kept telling myself, its because he is getting lots of stress from his teachers, from school and himself too during the PSLE period; so I was extremely patient and in many occasions, I just forced myself to zip my lips. But that unwelcome ‘attitude’ did not change much even after the mega examination was over and I knew he was in his rebellious teenage years.
My parenting belief before I had kids till now (I have a kid and a teenager) has not changed : What was I like when I was at that age and how would I want to be treated by my parents?
So my mind went back in time to search for teenage Angeline….
And I realised it became easier to handle Kitkit.
Afterall, he IS MY SON!
There are more ways than one that we are very much alike.
Whenever he goes against what I instructed, be it on purpose or not, I would take a deep breath, lowered the ‘internal heat’ in me first, and asked him for the reason WHY he is not doing what he was being told to do. On my lucky days, he would give a reason. On my unlucky days, I will get “Because I like it.” *fiery eyes*
When I was a teenager, one thing I disliked most is restrictions. The more I am being restricted, the more rebellious I became. I guess, its not too different for my dear Kitkit as well. So what is really working for us now is negotiation. Sometimes he wins the negotiation and sometimes I do. I seriously do NOT believe in ‘Whatever Mummy says is right’ kind of parenting. I belief teenagers should be educated on the consequences of every action. Saying “No”, without saying “Why No.” just won’t stick into the head of a teenager. Saying “No” alone probably will last like some post-it-pad and not a super glue. Let them know the consequences, give them the power to decide and teach them to take responsibility of their own decision. Sometimes, when we let go, they choose to follow.
Parenting is to guide, not to guard.
Parenting is to reason, not to restrict.
Parenting is an act of love, not an act of authority.
So far, the methods I’m using are working for me (for now) while that ‘attitude’ is still blooming…not sure if what I am doing now can handle a full bloom ‘attitude’.
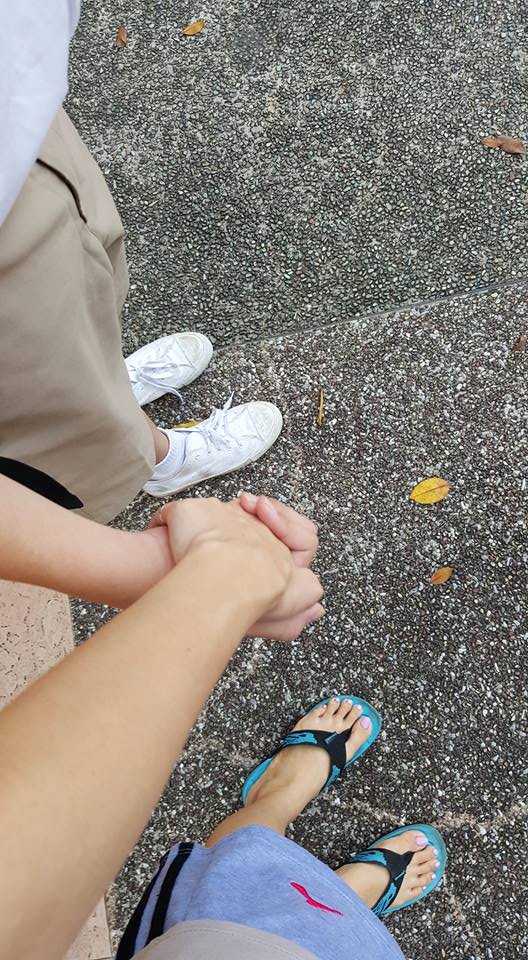
I am happy for now……at least he is still willing to hold my hand….
Happy Parenting! *wink*
Handling a Teenager
Copyright © 2007-2024 All About Your Child. The contents on this blog are the sole property of the author, Angeline Foong, and may not be used or reproduced in any manner without consent. All Rights Reserved. 1 Comment »