How To Make Chinese Lantern
Handicraft for kids February 2nd, 2010
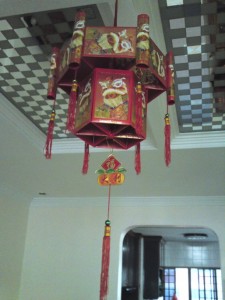 I wanted to do a video on how to make this Chinese Lantern, but YouTube no longer accepts videos which are more than 10mins long. And making this Chinese Lantern definitely takes more than 10mins.
So please bear with me on this super long pictorial post. I have already leave out many other decorations which could enhanced the outlook further to make this post shorter. *giggle*
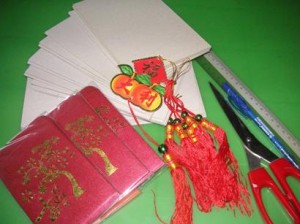 The things you need:
- Cardboard 24 pcs
- Hong Bao 30pcs
- “Xuxu” 6 small, 1 big
- Red Ribbon
- Scotch Tape
- Double-Sided Tape
- Scissors
- Stapler
- Ruler
- Pen
The cardboard must be reasonably thick to give shape to the lantern. A good example would be the board behind the Drawing Block used by Primary School children.
Ok, I must make myself clear here: As much as I wish to be professional, I made a huge mistake while doing this lantern. The Hong Bao, which you see at the beginning has a rough surface, hence the scotch tape would not stick!
I was spending half the time Repairing, instead of creating. Thus when I reach my in-laws’ place on Sunday, I changed all the Hong Baos and redo, but I did not snap shots of the initial steps when I used the ‘Lion’ Hong Bao.
So please do not get confused when you see a different Hong Bao design in the middle of the process.
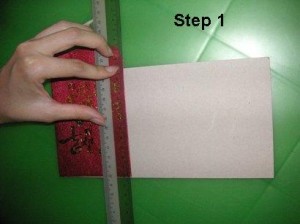
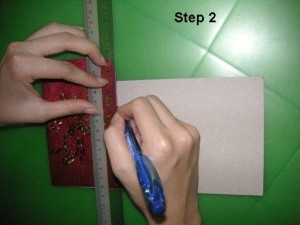
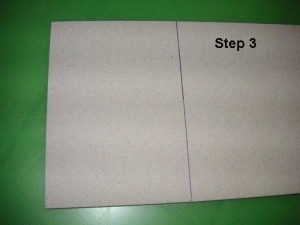
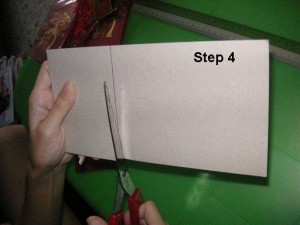
Step 1-3: Using your Hong Bao as a guide, leaving about 5mm-1cm space, draw out a rectangle on your cardboard. Meaning, your cardboard size, must be about 5mm SMALLER on each side as compared to your Hong Bao, so that the cardboard can fit in nicely without risking tearing the Hong Bao.
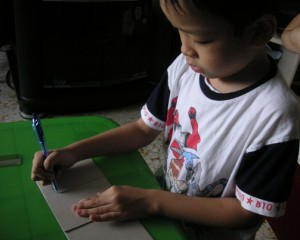 Step 4 : Cut out the cardboard and now using the cut-out cardboard as a guide to make the other 23pcs. You need total 24 pcs.
Keatkeat helped me to use the cardboard as a guide to draw out the other 23pcs, while I did the cutting.
Hands can be rather painful after cutting for awhile, if your cardboard is as thick as mine. The ones I use is another 2mm thicker than the cardboard behind the Drawing Block.
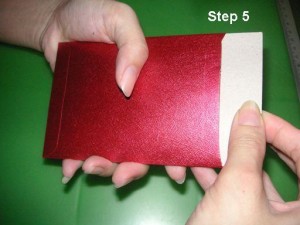
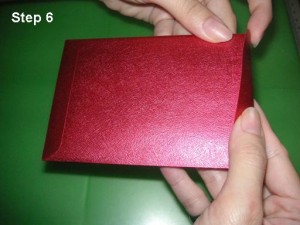

Step 5-6: Put in the 24 pcs of cardboard into 24 pcs of Hong Bao and seal it. Binbin did great for step 5 and 6.
Step 7: Some Hong Bao are not self-adhesive. Hence you may need to use scotchtape to seal it.
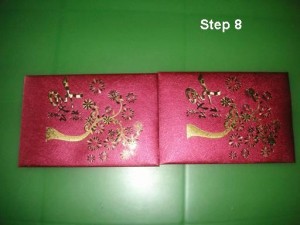
Step 8: Place the Hong Bao with the shorter side next to each other as shown.
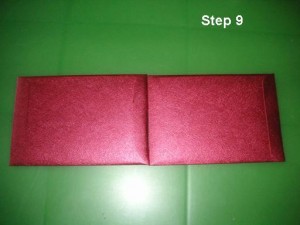
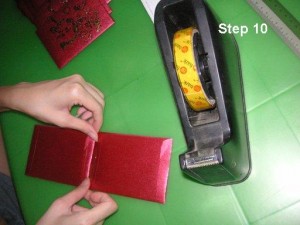
Step 9-10: Turn them over and use ScotchTape to hold them together.
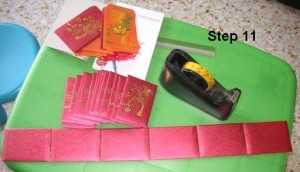
Step 11: Repeat step 9-10 by adding one more each time till you have 6 in a row as shown.
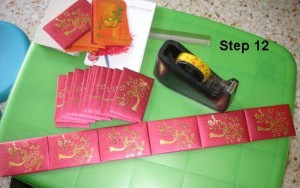
Step 12: You should see that all pictures are facing the same direction.
Step 13: Put the above AWAY before you continue the steps below, to prevent confusion.
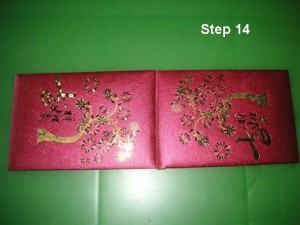
Step 14: Place the Hong Bao with the shorter side next to each other as shown. This time, the pictures are in opposite direction.
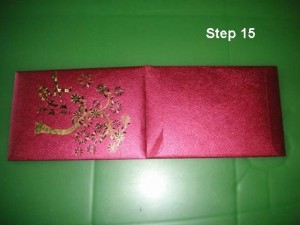
Step 15: Flip one of the Hong Bao as shown.
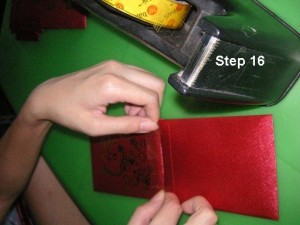
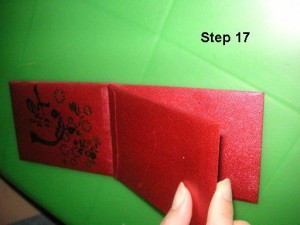
Step 16: Use Scotch Tape to hold the joints together.
Step 17: Add another Hong Bao on top as shown.
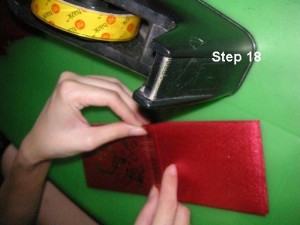
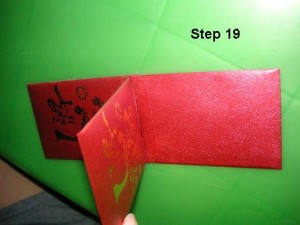
Step 18: Hold down the ‘new’ Hong Bao with Scotch Tape.
Step 19: Filp the ‘new’ Hong Bao to the other side.
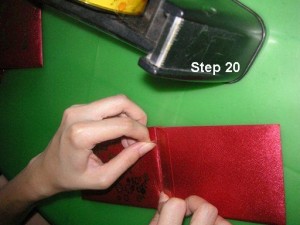
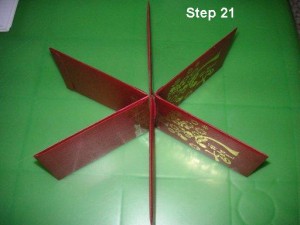
Step 20: Tape down the ‘new’ Hong Bao again.
Step 21: Repeat steps 17-20 until you have 6 pieces nicely joined to each other as shown.
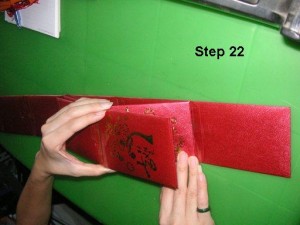
Step 22: Bring back what you did in step 12 and put it FACING DOWN. Place what you did in step 21 ON TOP of step 12. Position ONE of the edge of the Hong Bao from step 21 to the JOINING part in step 12 as shown.
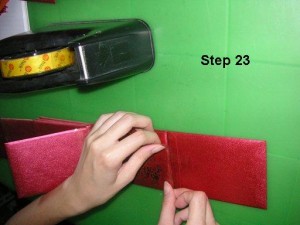
Step 23: Stick it down with Scotch Tape.
Step 24-29: Flip the entire ‘step 21’ to the other side and stick it down too. Continue to repeat step 22-23.
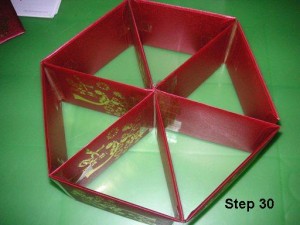
Step 30: Seal up the final ends to form the shape as shown.
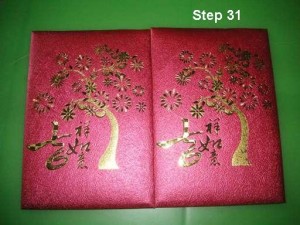
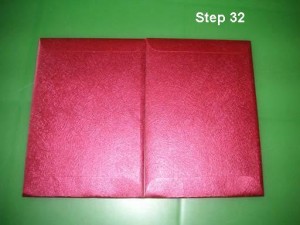
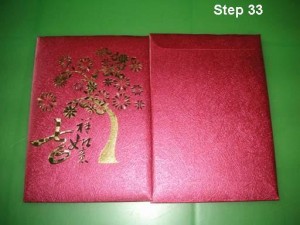
Step 31-33: This is just a repetition of step 14-21 BUT this time, the Hong Bao joins on the LONGER SIDE.
 (I’m sorry, I choose not to repeat using photos, or else you can imagine the length of this post! *faint* So just scroll up to see steps 14-21.)
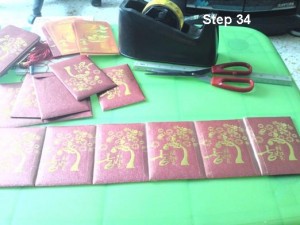
Step 34: To create this, just repeat step 8-11. But again, this time they join on the LONGER SIDE.
Step 35: This should be what you see after completing step 31-33.
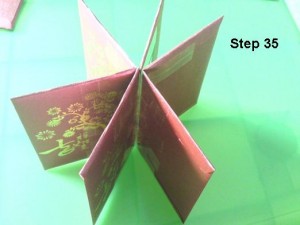
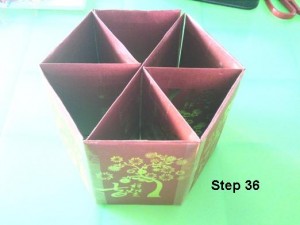
Step 36: This is created by repeating steps 22-29, but again, this time, they join on the LONGER SIDE.
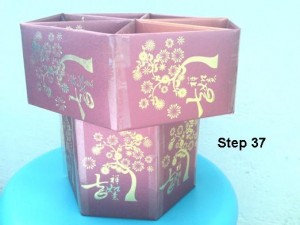
Step 37: This is what you should have after completing step 1 to step 36.
SEE HOW UGLY IT WAS!!! I just could not stand the sight of the scotch tape! My perfect lanterns NEVER have scotch tapes seen from the outside! I had to stick scotch tape on the outside just to hold them together. So don’t be careless like what I did, by choosing the wrong Hong Bao.
I TORE EVERTHING UP when I was at my in-laws’ place and changed all the Hong Baos to the smooth surface type (which is the common kind).
Many people in the past have asked how can I secure both sides of the Hong Bao INTERNALLY when they have thick fingers? *giggle* Though I have small fingers, I do not poke my fingers in to paste the scotch tape down when going through step 14 to step 21. See Tips below…..
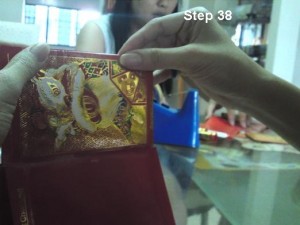
Step 38 (tip): BEFORE I hold another Hong Bao down, I would stick half the scotch tape at the edge of the Hong Bao, fold the scotch tape down to half…
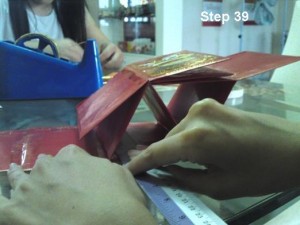
Step 39 (tip): Pull down the Hong Bao and use a ruler to smooth out the scotch tape on the other Hong Bao.
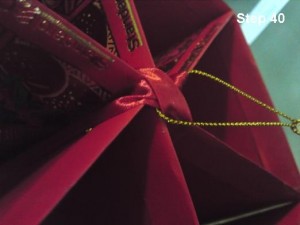
Step 40: Place the wider one (step 30) ON TOP of the taller one (step 36). String the Red Ribbon through BOTH of them TOGETHER with the Big XuXu at the bottom.
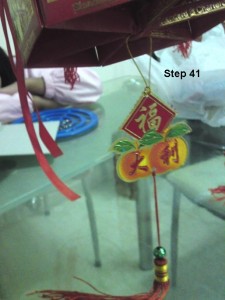
Step 41: This is what you’ll get after completing step 40.
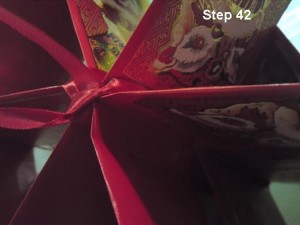
Step: 42: Tie a Knot on the top.
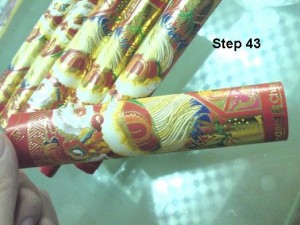
Step 43: Roll the remaining 6 Hong Baos on the longer side. Secure both ends by stapling it.
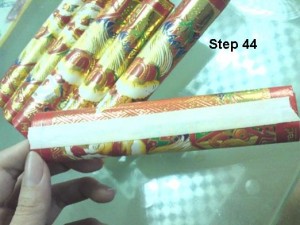
Step 44: Stick a strip of Double-Sided tape at the back, covering the staplers.
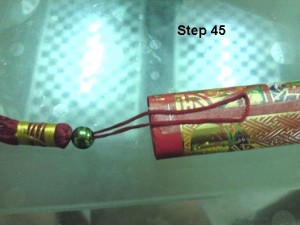 Step 45: Peel the double-sided tape protector. Stick the small XuXu as shown.
Step 46: Stick the ‘roll’ with the small XuXu onto the edges of the top section of the lantern.
And Ta-Daa!
You’ve got yourself a Chinese Lantern that does NOT have a single scotchtape show on the outside! *wink*

Though the steps are long. But it really takes less than an hour for any amateur to complete it. Which is only one-third of the time for me doing up this post!!! *faint*
Ya man! I took 3 hours to do up this post!!! With many “Mommy, can you come.” breaks in-between.
*Pat on my own back*


February 2nd, 2010 at 9:28 pm
hi dear! very nicely done. maybe next time, for the glueing part- jus my suggestions ya. you can use UHU wet glue to stick side the ang baos. and the xu xu, you can use soft wire to hook up to the top. :D
February 3rd, 2010 at 12:24 am
Hi Levine dear,
how to use UHU glue when the Hong Baos are NOT meant to overlap???
they are edge to edge.
I use soft wires for MY OWN lanterns.
But because this was done for my in-laws, they think that soft wires are NOT strong enough, so they passed me this thick ribbon. *giggle*
February 3rd, 2010 at 12:55 am
Looks easy but it sounds like so much work. Very well done, I must try this myself.
February 3rd, 2010 at 1:10 am
Those are so pretty. Great job!
February 3rd, 2010 at 7:27 am
That is beautiful Angeline. Your 3 hours (writing this post) was worth it. Thank you so much for sharing.
February 3rd, 2010 at 8:46 am
Hi dear. Can la. Apply edge to edge coz that’s wat I’m doing. Hee. Nt time u can try ya. ;) enjoy.
.-= Levine´s last blog ..Bento#36 =-.
February 3rd, 2010 at 9:36 am
Levine dear,
really ah?! cool! Must try!
February 3rd, 2010 at 11:27 am
Wonderful job!
.-= Alison´s last blog ..In Case You Didn’t See This on Twitter… =-.
February 3rd, 2010 at 12:06 pm
wow! Thanks! Its so detailed! now i can try my hands on making one too! *muacks*
February 3rd, 2010 at 5:17 pm
Wow!~ Great piece of artwork!
February 3rd, 2010 at 5:45 pm
Great post! Now I know how hongbao lanterns are made. Altho I must say it take quite a bit of effort and time.
February 3rd, 2010 at 7:56 pm
hi dear!! no prob! but must salute for patience for posting the step by step guide. hee! ;)
.-= levine´s last blog ..Bento#36 =-.
February 3rd, 2010 at 11:01 pm
the results are amazing! LOVE it!
thks for sharing…i dunno when can i start this proj at home when my daughter is “kepo-ing” around me all the time hahaha!
nice job there, mummy! thumbs up!
February 4th, 2010 at 6:04 pm
it must have taken you ages to take and upload those pics (hugs)
very crafty though girl. maybe you can make some and sell on wink wink x
Tina from
Gossip Avenue
Travel Shack
Mummy Diaries
Game FreakZ
.-= Tina´s last blog ..ROBERT PATTINSON’S NEW ‘SEXY’ FILM ROLE =-.
February 4th, 2010 at 7:05 pm
The lantern looks really good, vy “pro”. ;)
I salute ur patience for this step-by-step guide. U’re jes amazing, girl!
February 6th, 2010 at 8:03 am
very nicely done leh, so creative.